You’re destroying your records every time you play them.
No just kidding-it’s not that dramatic. The reddit threads will have you believe vinyl spontaneously combusts if you breathe on it wrong.
But to be real, those crackles? It’s not character. It’s damage and it’s (semi)permanent.
Every spin grinds dirt deeper into the grooves. Every fingerprint leaves behind oils that attract more dust. The nature of the medium is that you’re carving microscopic scars into vinyl that can never be repaired. That’s just how it is, to be honest.
Which means your favorite album, the one you’ve played a hundred times, sounds worse today than it did last year. And it’ll sound worse next year than it does right now.
The good news? You don’t need some $1,000 vacuum or a PhD in vinyl care. Just a few simple steps that take minutes (not hours) and actually work.
Your records are treasures. They can last decades or they can turn into static-filled garbage. The difference is what you do in the next 5 minutes.
So let’s break down how to actually clean your vinyl — properly, easily, and before you ruin anything else.
Table of Contents
In this guide, we’ll walk through the full range of vinyl care—from simple cleaning routines you can implement today to deep cleans and proper storage and handling—for long-lasting sound quality.
- Why Learning How to Clean Vinyl Records Is So Important
- Quick & Easy Vinyl Record Cleaning
- Deep Clean Guide: How to Clean Vinyl Records That Are Really Dirty
- Vinyl Storage: Because Cleaning is Useless Without Proper Storage
- Handling Your Records: You’re Probably Doing it Wrong
- Final Thoughts on How to Clean Vinyl Records the Right Way
Affiliate Disclosure: We’re a small team of vinyl enthusiasts—if you get value from our insights, using our affiliate links (including Amazon Associates) helps us earn a commission and keep the lights on at no extra cost to you. Thank you for supporting Recordbuilds.com!
Why Learning How to Clean Vinyl Records Is So Important
Check it out, this is how your needle moves:
Riding microscopic grooves, tracking every detail (and every bit of dirt) along the way.
Now picture this: every time you touch a record, you’re leaving behind little smudges of oil and schmuck. Every spin without cleaning grinds that gunk deeper into the grooves. The result? Hiss, crackle, dull playback—and eventually, a worn-out stylus or worse, a trashed record.
And no, this isn’t just a problem for audiophile purists. Even a $100 setup can sound dramatically better with clean vinyl. You’re not just preserving sound—you’re protecting your records and your gear.
The good news? It’s easier than you think. Whether you’re brand new or three crates deep, a few simple habits go a long way.
Let’s start with the easiest ones—the things you can do today, in seconds.
Quick & Easy Vinyl Record Cleaning
This is the everyday approach to vinyl cleaning. Simple, affordable upkeep that keeps your records sounding good for the long haul—without turning maintenance into a chore.
You don’t need fancy gear. You don’t need 30 minutes before every spin. What you do need are a few cheap tools, 10 seconds of effort, and a habit you can actually stick with. Here are the three easiest tools to get started with—and why they matter:
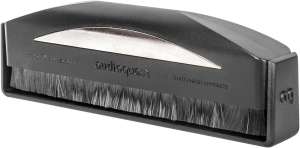
1. Grab yourself an Anti-Static Brush
Most people don’t realize static is the real villain. It builds up as your record spins and acts like a magnet, pulling in dust, hair, and everything else floating around. And because static is invisible, most people don’t even realize their records are getting dirtier every time they play them. Wipe your vinyl with a random cloth or your shirt sleeve and all you’re doing is smearing oils or pushing grit deeper into the grooves.
Here’s the fix: get yourself an anti-static brush. It takes 5 seconds before each play, neutralizes static, and lifts surface dust cleanly. You’ll instantly reduce pops, hiss, and long-term wear on your records and stylus.
It’s honestly the lowest-effort, highest-impact habit you can build into your listening routine.
There are a couple of good choices out there that we have included below:
| Image | Product | Price | Link |
|---|---|---|---|

|
Audio-Technica Anti-Static Record Brush |
$15.00 | Amazon Link |

|
Boundless Audio Carbon Fiber Anti-Static Vinyl Brush |
$18.99 | Amazon Link |
|
AudioQuest Anti-Static Record Brush |
$19.95 | Amazon Link |
The Boundless brush, has rounded bottom corners to help avoid accidental scratches. If you want a more comprehensive solution, consider their cleaning kit which also includes a large, long-handled stylus brush. AudioQuest also makes a solid option, with an ergonomic design that provides a comfortable, secure grip, allowing for precise control during cleaning. But at the end of the day, an anti-static brush is a pretty basic tool—most will perform about the same.
Pro Tip: The Long-Stroke Method
When you’re using the anti-static brush, don’t press down hard: fingertip pressure is all that is needed. Use light, sweeping strokes in the direction of the grooves—never across them. Vinyl is fragile, and you want to be as gentle as possible. And trust me, you’ll be shocked at how much dust collects on the bristles after just a few seconds of brushing.
2. Microfiber Cloth for Everyday Wipe Downs
Now that the static’s under control, it’s time for cleanup duty. A microfiber cloth helps pick up whatever dust, oil, or fingerprints the brush didn’t catch. Think of it as the final step before the needle drops. It only takes 10 seconds, but it can make a real difference in clarity.
Microfiber is made up of ultra-fine synthetic fibers that are split even finer than human hair (hence micro) That ultra-fine texture lets it grip tiny dust particles and absorb oils better than cotton or paper. It’s soft enough not to scratch vinyl but tough enough to get deep into the grooves without damage.
Again, most of the cloths that are rated for vinyl are about the same. You don’t need to overthink it—just get one that’s purpose-built, soft, and won’t shed all over your grooves. Here’s a solid option from a trusted cleaning brand, Groovewasher: Amazon Link
Pro Tip: Avoid Cheap Cloths and Wash After Every Use
Sure, you could grab a microfiber cloth from the dollar store, but you’ll want one that’s specifically designed for vinyl cleaning. The cheap ones can leave behind fiber fragments, and that’s the last thing you want settling into your grooves. It’s worth spending a few extra bucks for a purpose-built cleaning cloth.
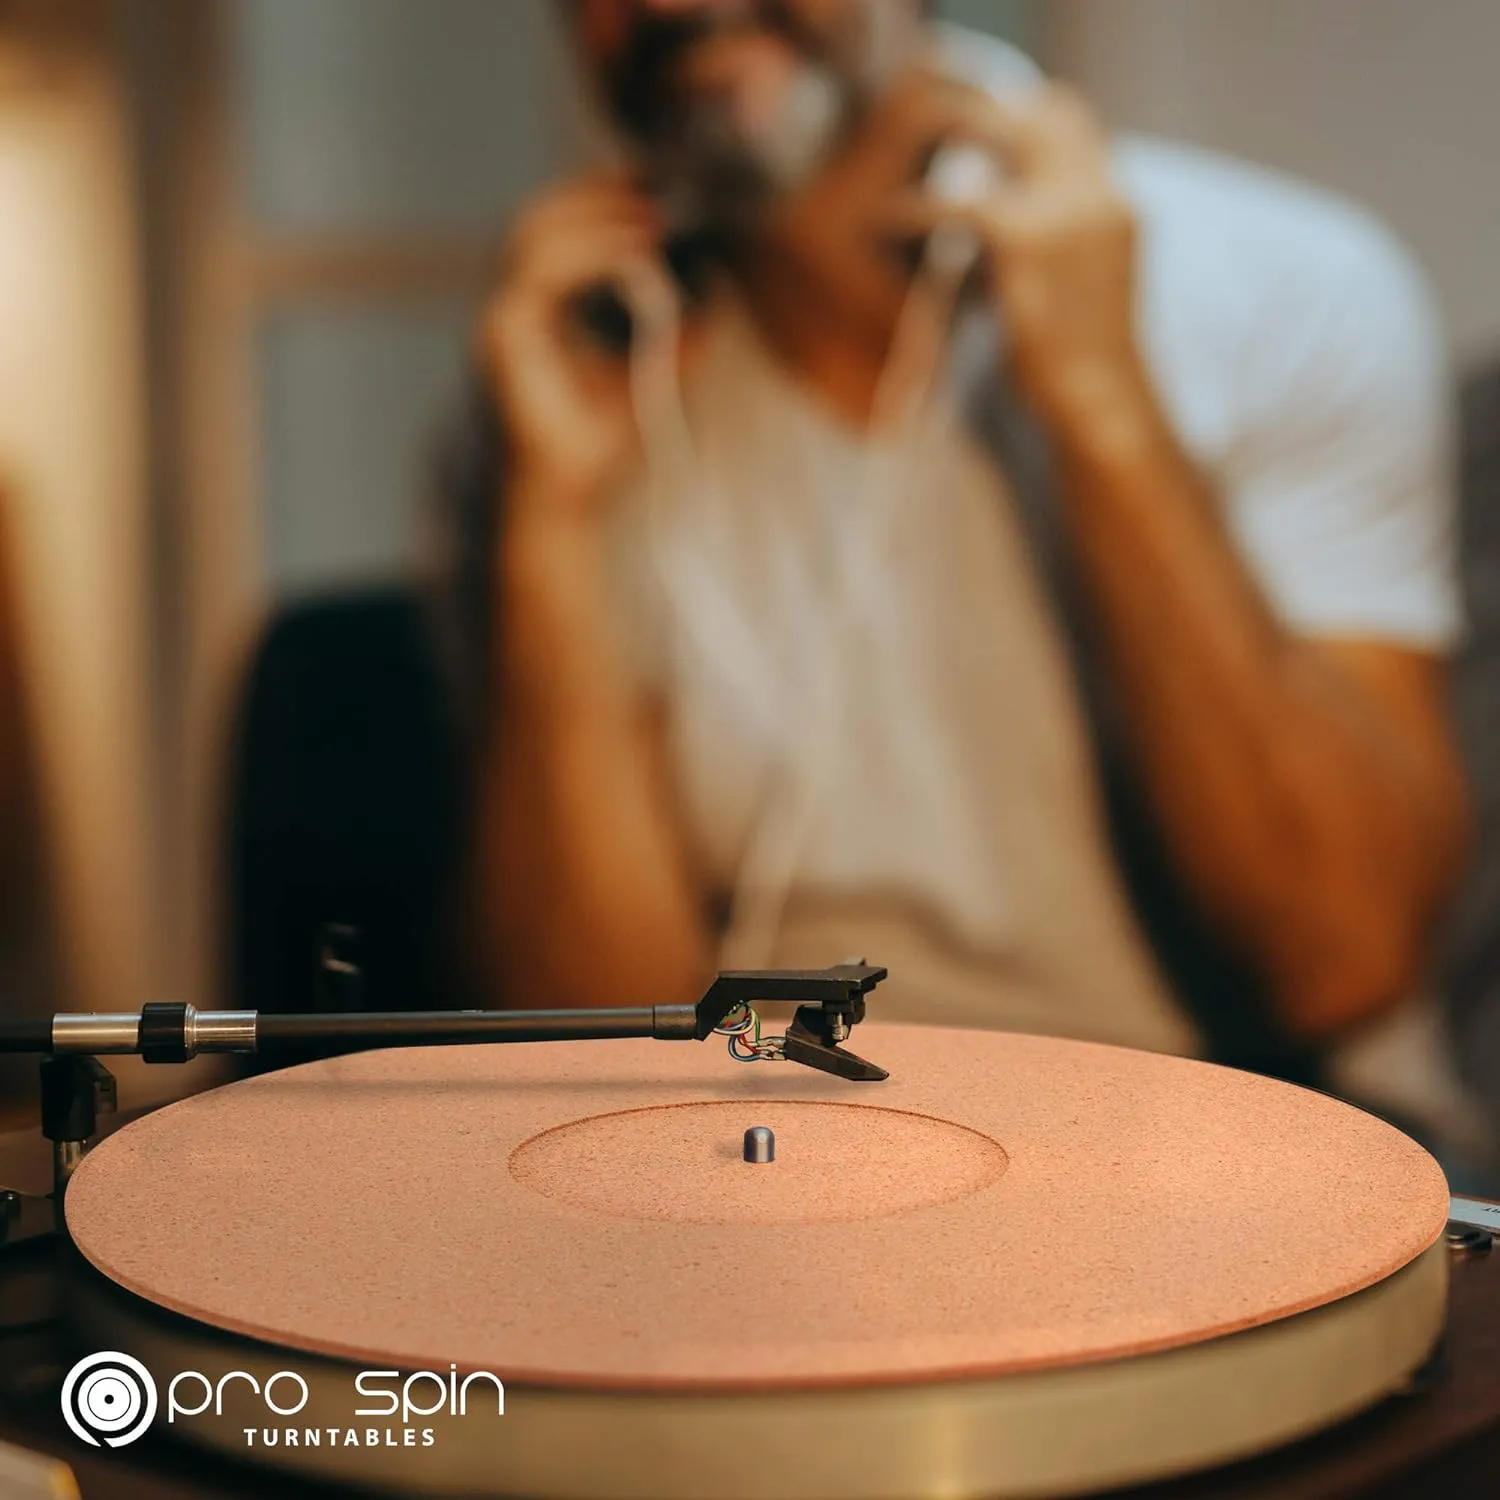
3. Use an Anti-Static Mat on Your Turntable
The static battle continues when the record is spinning on the turntable. If your mat is full of static, it’s just going to transfer all that dust and debris right back onto your newly cleaned record. An anti-static mat not only prevents this but can also improve playback by reducing hiss and crackle.
| Image | Product | Price | Link |
|---|---|---|---|

|
PRO SPIN White Acrylic Turntable Mat |
$16.99 | Amazon Link |
|
PRO SPIN Cork Turntable Mat |
$19.99 | Amazon Link |

|
Jake’s Turntable Mats Premium Leather Deer Hide |
$29.99 | Amazon Link |
Leather, cork, and acrylic mats all offer distinct sound characteristics and can improve your turntable’s performance. Cork is great for reducing static and providing a warm sound, while leather is better for minimizing static and offers a more neutral tone. Acrylic, closely matching the material of vinyl, provides excellent resonance control and enhances sound clarity.
Pro Tip: Anti-Static Sleeves Are Your Friend
After you’ve given your record a once-over with the brush and cloth, do yourself a favor and store it in an anti-static sleeve. This will keep the record safe from dust and grime while it’s off the turntable, making your next listening session cleaner and clearer.
Deep Clean Guide: How to Clean Vinyl Records That Are Really Dirty
So, you’ve done the basic cleaning, but the sound still isn’t up to par? You know that warm, crisp sound your records had the day you bought them? This is how you get it back. We’re talking fingerprints, oily smudges, stuck-on grime—maybe even some mystery gunk that’s been haunting Side B for years.
A basic brush isn’t gonna cut it here. It’s time to bring in the heavy hitters. When surface cleaning isn’t enough, it’s time to dig deeper into how to clean vinyl records that are heavily used or neglected.
Welcome to the deep clean.
1. Get Rid of Surface Dirt and Static First
Before you break out the heavy stuff, hit your record with an anti-static brush and microfiber cloth from the previous steps. Seriously—don’t skip this. Any loose dust still hanging out on the surface is just waiting to get shoved deeper into the grooves.
This step sets the stage. Think of it like rinsing a plate before scrubbing it clean. You’re just clearing the battlefield so your cleaning solution can actually do something.
2. Choose Your Weapon: Vinyl Cleaning Solution
There are a million products out there claiming to be the best vinyl cleaning solution, but here’s the truth: You need a vinyl-specific cleaner. Don’t even think about grabbing Windex, rubbing alcohol, or—God forbid—your dish soap. These products will leave residue and could damage the vinyl itself.
One we’ve seen again and again (and use ourselves) is GrooveWasher’s G2. It’s the go-to for a reason. The collectors I trust swear by it. Reddit threads circle back to it. And when you use it, you’ll understand why—it doesn’t just clean; it restores clarity and detail you didn’t even realize was missing. Your records sound livelier. Your system breathes easier. It’s like peeling a film off the music.
3. Apply the Cleaning Solution
Now that the record is dust-free, it’s time to apply the cleaning solution. Spray it onto a microfiber cloth (never directly onto the record—too much liquid is bad news) and gently wipe the record in a circular motion, following the grooves. No heavy pressure—let the solution do its job. The goal here is to loosen up any stuck-on dirt or fingerprints.
Let the solution sit for a minute or two, especially on problem areas. Then, gently wipe it away with a clean microfiber cloth.
Pro Tip: Don’t Forget the Needle!
Your stylus collects dust and dirt just like the record does. It’s worth investing in a stylus cleaning kit to complete the full process of how to clean vinyl records and preserve sound quality. Use a fine-tip brush to gently clean off the needle every few plays to ensure you’re not just transferring dust back onto your clean records.
Vinyl Storage: Because Cleaning is Useless Without Proper Storage
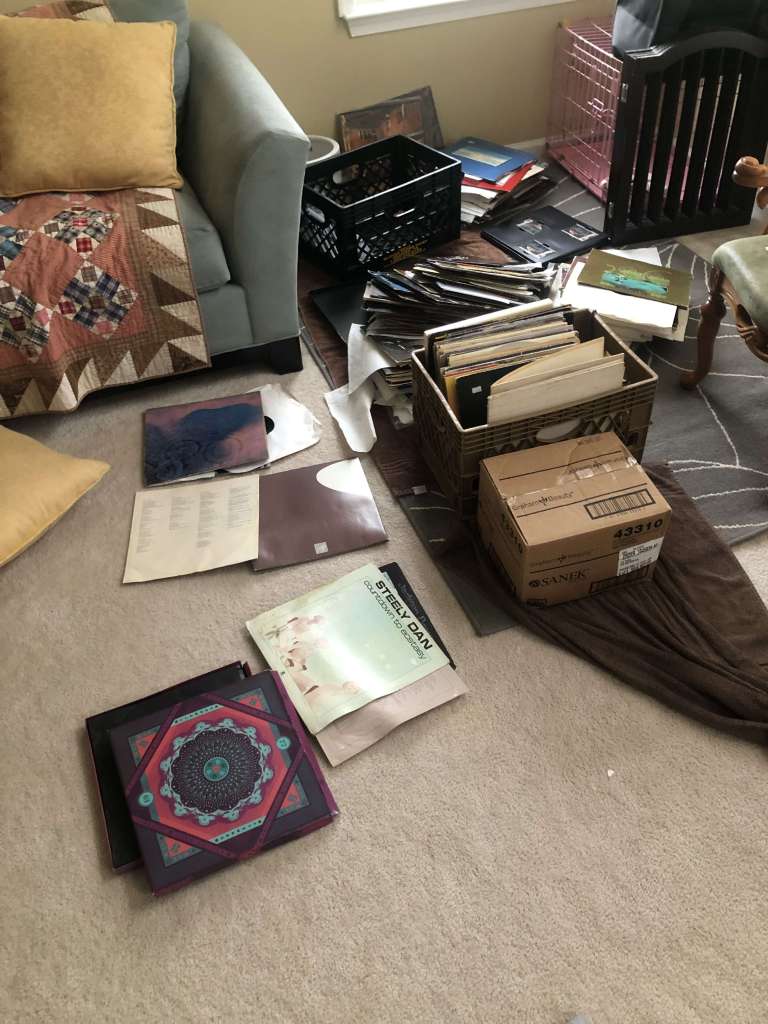
You’ve cleaned your records, they sound amazing, and life is good. But this is where most people quietly blow it—storage. You’d be surprised how many folks casually leave their records stacked flat, crammed sideways on a shelf, or just strewn about like coasters. Dirty records are often the result of poor storage, and all that cleaning work can go down the drain if your records aren’t stored right.
Below are some general practices every collector should follow. However, our Builds Section is more like the braintrust—our idea of the perfect listening room, with all the cleaning and storage gear baked in. If you want to piece together your setup, with finds from the strongest brands, that’s where to look. In the meantime, here are some quick tips we highly recommend.

1. Always Store Records Vertically
Stacking records horizontally is a recipe for disaster. The weight of the records on top can warp the ones underneath, and once a record warps, it’s pretty much game over. Always store your records vertically, like books on a shelf. This prevents warping and keeps them in good shape for years to come.
Pro Tip: Don’t Overpack Your Shelf
Records need room to breathe. If you cram too many into one shelf, they’ll press against each other, potentially causing warping or ring wear on the album covers. Leave a little wiggle room, and your records will thank you.
2. Use Anti-Static Sleeves
We’ve already talked about anti-static sleeves, but it bears repeating: Always store your records in these. Paper sleeves are cheap and get the job done, but they leave little paper fibers on the record. Plastic anti-static sleeves are much better, as they prevent dust buildup and keep your records looking (and sounding) fresh. Again check our builds page for the premium outer and inner sleeves in the game
3. Keep Records in a Cool, Dry Place
Heat and humidity are the enemies of vinyl. If your collection is stored in a hot attic or a damp basement, you’re asking for trouble. High temperatures can cause warping, while moisture can lead to mold and mildew. The ideal storage environment is a cool, dry room with stable temperatures.
Bonus Tip: Natural Disaster Risk
(A Lesson Learned the Hard Way)
I’ll admit, this is a bit of an embarrassing story, but it’s worth sharing. When considering the risk of natural disasters, don’t forget to protect your records. Sure, your house, pets, and family photos are important, but let’s be honest—your vinyl collection is what is most irreplaceable. Whether you have a basement prone to flooding, a mischievous pet, or you live in an earthquake zone, take the necessary precautions to keep your records safe from unexpected events.
Handling Your Records: You’re Probably Doing it Wrong
Even the best cleaning methods won’t save your vinyl if you’re handling them incorrectly. Let’s go over some quick do’s and don’ts for handling your records.
1. Don’t Touch the Grooves
Your fingers are oily and dirty, no matter how many times you’ve washed them. The grooves of your record are delicate, and even the lightest touch can leave behind oil and dirt that affects playback. Always handle your records by the edges or by the center label.
2. Use a Record Clamp
If you’re really serious about sound quality, a record clamp is a good investment. These devices sit on top of your record while it’s playing, holding it firmly in place and reducing vibrations that can affect sound quality.
3. Clean Your Stylus Regularly
We’ve already touched on this, but it’s worth repeating: Keep your stylus clean. A dirty stylus can damage your records and reduce sound quality. Invest in a stylus brush or cleaning kit and give it a quick clean after every few plays. This ensures you’re not transferring dust back onto your clean records.
Final Thoughts on How to Clean Vinyl Records the Right Way
At the end of the day, cleaning your vinyl records isn’t rocket science, but it does require some care and attention. By following these simple steps—investing in basic tools like an anti-static brush and microfiber cloth, learning how to deep clean when needed, and storing your records properly—you’ll keep your collection in great shape for years to come.
And hey, if you’ve got the cash to blow on an ultrasonic cleaner or a high-end vacuum system, go for it. But for the rest of us, the basics will do just fine. Maintain your collection and your setup, and let your records deliver the quality sound they’re known for.
But let me leave you with one last thing: cleaning is only half the battle.
The other half? Not playing your records on a turntable that does twice the damage you just spent time preventing.
Because what’s the point of meticulously cleaning your vinyl if your player’s tracking force is carving new grooves every time you spin?
That’s where we come in. This site exists to cut through the BS and shine a light on the dark, confusing world of getting into physical media without getting scammed or overwhelmed.
Start here:
- First card: if you want to keep it simple, reasonably priced, but still actually care about preserving your records
- Second card: if you’re ready for a full legit vinyl setup. Complete systems that are balanced, beautiful, and ready to go right out of the box
Don’t waste money. Don’t ruin your records. Just get it right the first time.
All-in-One Record Players
Keep it simple.
One box, built for small spaces and easy listening.

Get a safe, compact pick in minutes
Fully Curated Setups
Skip the decisions.
These complete setups are balanced, beautiful, and ready to go.

Hand-picked, proven builds — buy with confidence.